Now Reading: Full Body Dumbbell Workout: 30 Minutes, One Pair of Dumbbells
-
01
Full Body Dumbbell Workout: 30 Minutes, One Pair of Dumbbells
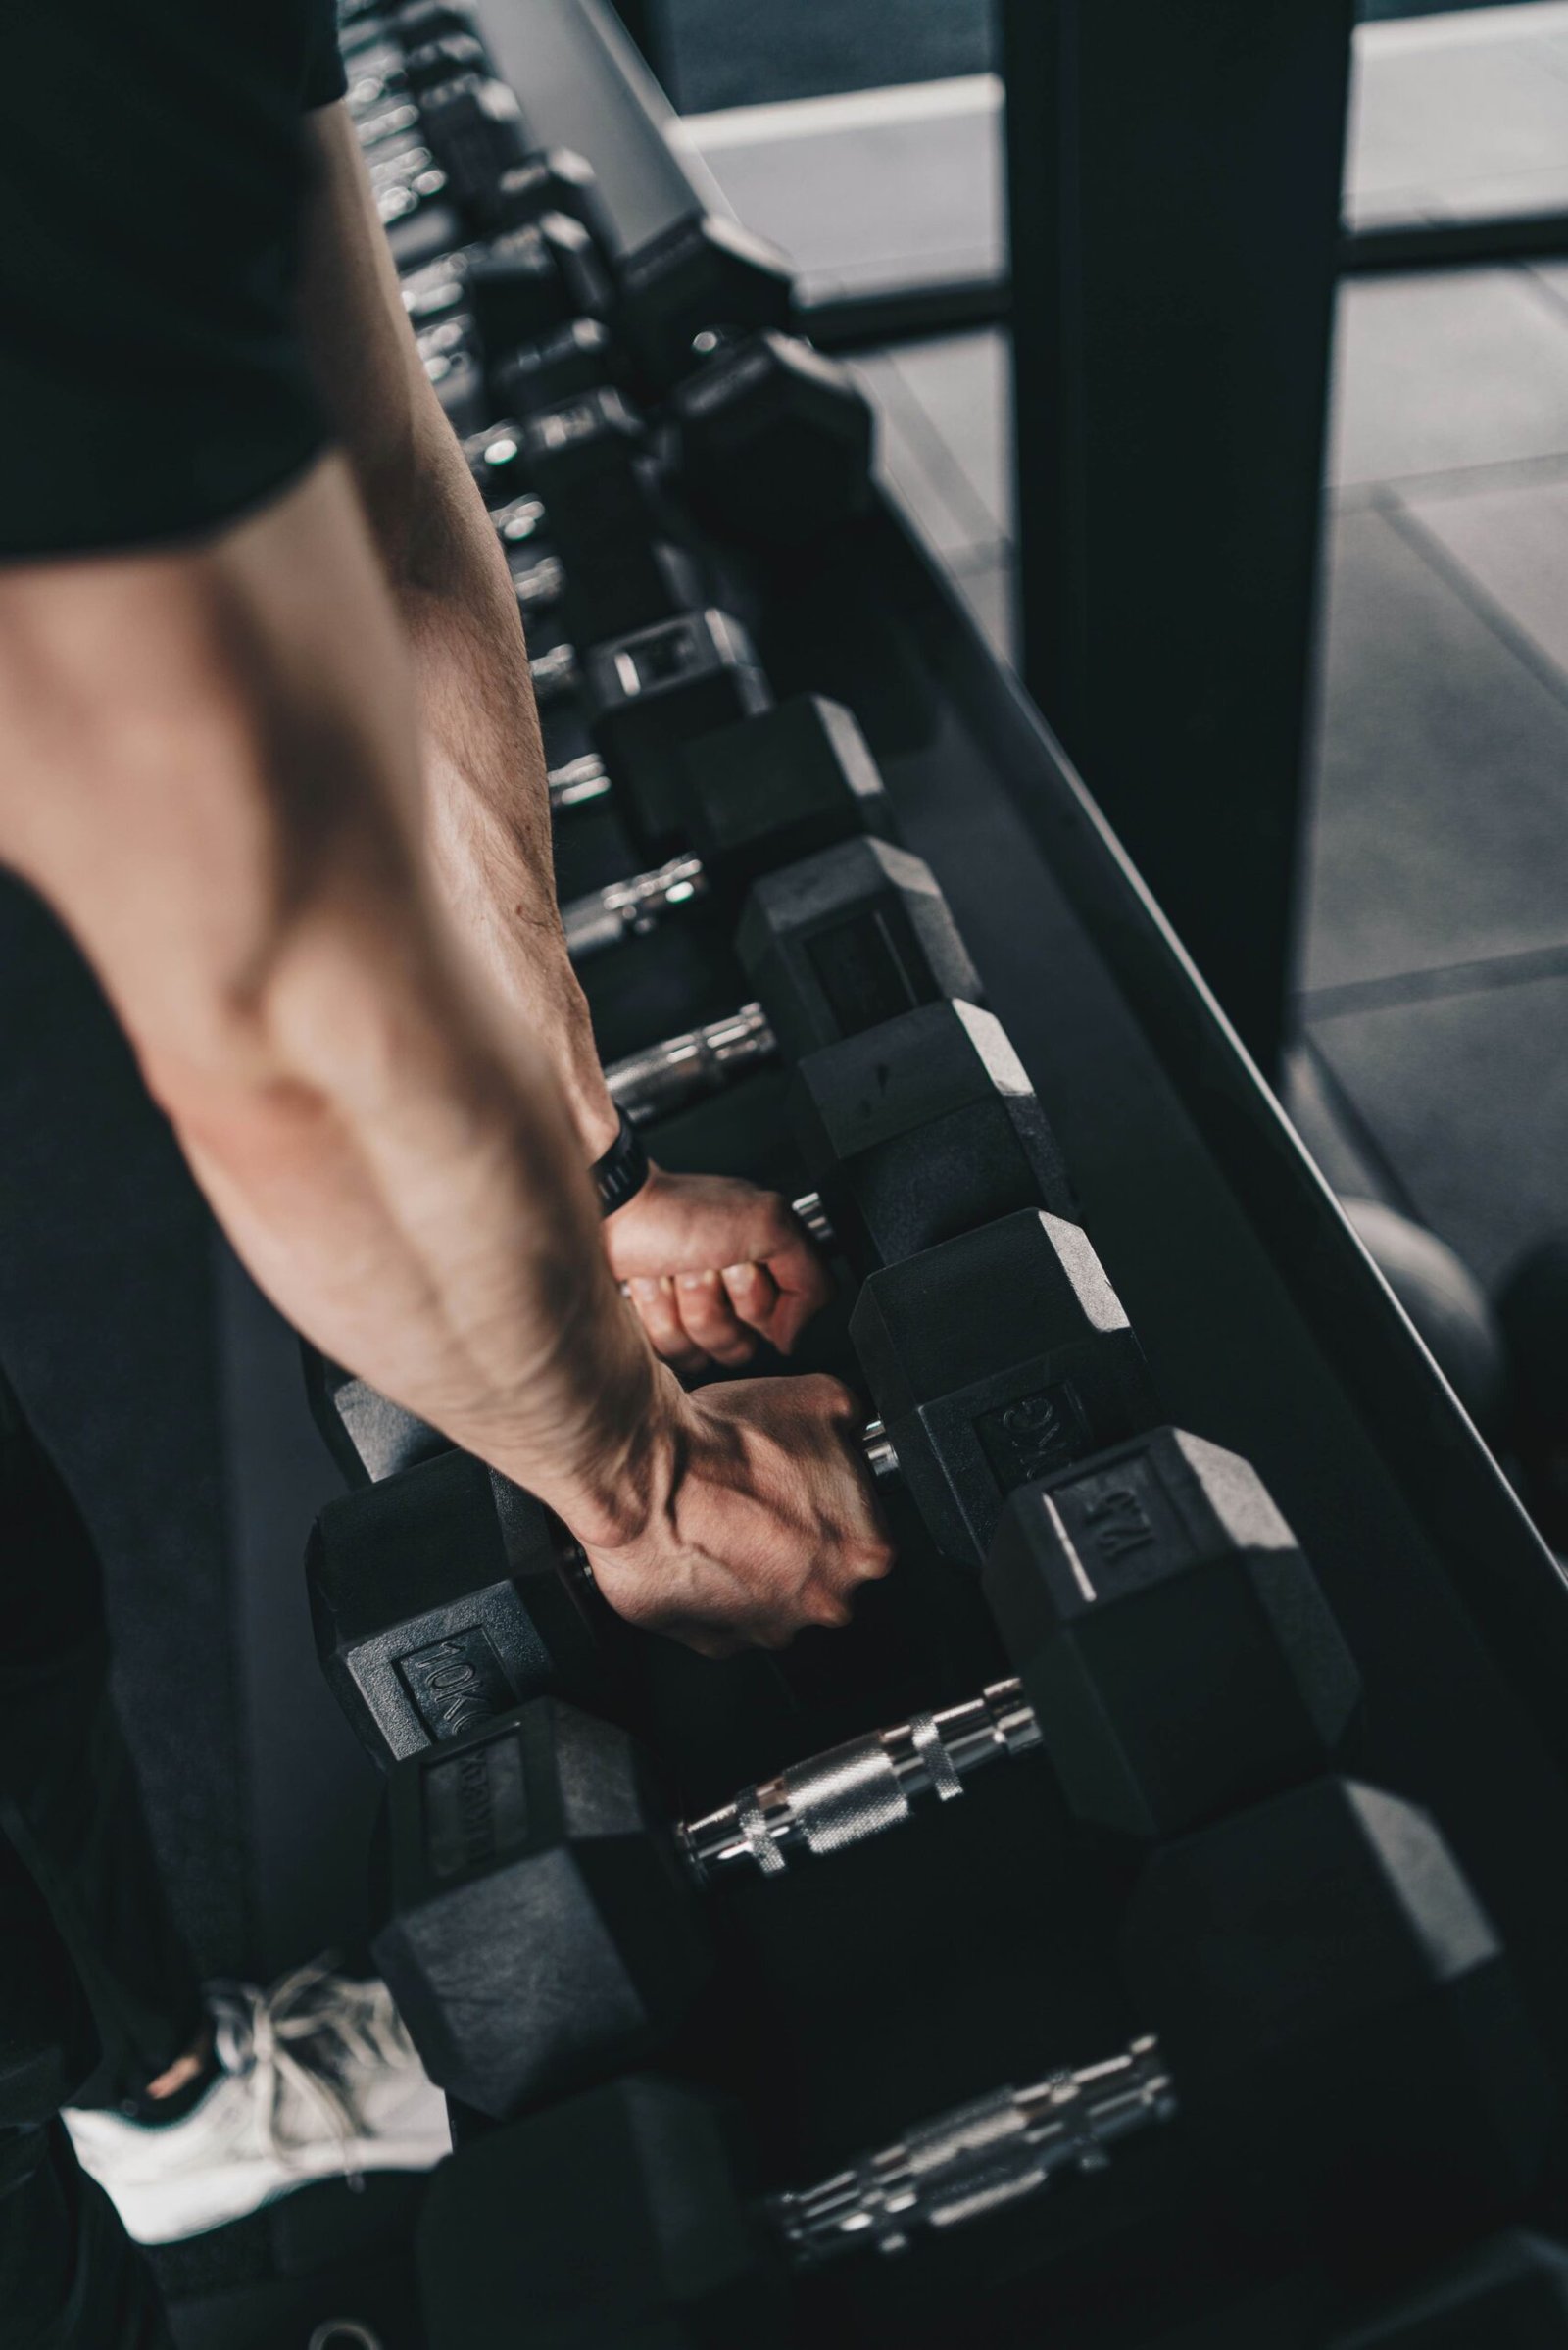
This full body dumbbell workout includes squats, hip hinges, rows, chest presses, shoulder presses, and a bodyweight core move, all in 30 minutes. You just need one pair of dumbbells, some clear space, and a timer. Start with a 5-minute warm-up, do two rounds of the exercises, and finish with a 5-minute cool down.
You don’t need heavy weights for a good workout. Just pick weights that fit each movement. The right weight for squats might be too much for presses, so use the substitutions below instead of forcing every exercise with the same load.
This routine is for adults who can do these exercises comfortably. Try new movements without weights first. If you need extra time to practice, warm up, or recover, feel free to make the session longer or skip some exercises.
The 30-minute workout at a glance
Set your timer for 30 seconds of lifting and 60 seconds of rest and setup. Do all six exercises in sequence, rest for an extra two minutes and then go through the sequence again.
During each lifting window you’re aiming for around 6-10 controlled reps; stop early if your form starts to break down. You don’t have to be moving the whole 30 seconds. You should finish with enough control that you could probably do about two more good reps; the timer is a ceiling, not a race.
| Time | What to do |
| 0:00–5:00 | Warm up and rehearse the movements |
| 5:00–14:00 | Round 1: six stations, 90 seconds each |
| 14:00–16:00 | Additional rest, water, and equipment check |
| 16:00–25:00 | Round 2: repeat the six stations |
| 25:00–30:00 | Easy walking and gradual cooldown |
Each round is 6 minutes of scheduled rest/setup and 3 minutes of available lifting time. Over the two rounds you’ll do up to two sets per exercise. If you finish a set early, you can use the remainder of the lifting time as extra rest.
| Station | Exercise | Working target per round | Main focus |
| 1 | Goblet squat | 6–10 repetitions | Thighs and hips |
| 2 | Dumbbell Romanian deadlift | 6–10 repetitions | Hips and backs of thighs |
| 3 | Two-dumbbell bent-over row | 6–10 repetitions | Back and arms |
| 4 | Dumbbell floor press | 6–10 repetitions | Chest and arms |
| 5 | Standing dumbbell shoulder press | 6–10 repetitions | Shoulders and arms |
| 6 | Bodyweight dead bug | 3–5 slow repetitions per side | Trunk control |
The exercise selection and timer are just an example session. They are not a research-tested program or an individualised prescription. Use the easier versions when you’re learning.
Choose dumbbells for the hardest movement
If you only have one fixed pair then start by checking that you can press them comfortably with control. Don’t pick the weight from your squat strength and assume your shoulders will cope.
A good initial check is whether you can lower the weights smoothly, breathe through the set and be able to stop without having to drop them. If you can’t then use less weight or go for the bodyweight alternative. The Mayo Clinic guidance on weight training is all about technique, controlled movement, the right amount of resistance and breathing rather than just getting through the reps.
For a pair that is too heavy overhead, do the shoulder press with wall push-ups. If it’s too heavy for the floor presses then do the floor presses with wall push-ups and skip the second pressing station (use that as your rest interval). You can still go through the rest of the routine whilst you find a load that works.
Put the weights on a solid surface (away from your feet), wear shoes with good traction, have plenty of room to lie down and make sure you can stand up from the floor easily before you start the timer.
Warm up for five minutes
Spend the first three minutes just walking briskly around the room or marching in place. Gradually increase your pace, don’t turn it into a hard interval.
Use the final two minutes to go through a few unloaded squats, hip hinges, rows and arm raises. Get down to the mat and back up again. If a movement feels unfamiliar then obviously take more time to practice it prior to lifting.
The warm up is a prep period not a test that you have to get through on the clock. You start the weighted rounds when you’re ready to go with control.
How to do each exercise
1. Goblet squat
Stand with your feet about shoulder width apart (adjust as necessary to find a comfortable stance). Grasp one dumbbell firmly at your chest with both hands, keeping the weight well close to your body.
Bend at the knees and hips and lower yourself as far as you can comfortably control whilst keeping your feet on the ground. Your knees should follow the direction of your toes. Push through your feet to return to standing, without allowing your upper body to swing backwards.
Make it easier: put the dumbbell down and just do a bodyweight squat. A solid chair against the wall can be used as a consistent target. Touch down under control rather than dropping onto it.
Watch for: heels lifting, knees collapsing in, or a depth that sees you lose your position. Use a smaller range when you’re learning.
2. Dumbbell Romanian deadlift
Stand with a dumbbell in each hand in front of your thighs. Keep a slight bend in your knees and push your hips back, allowing the weights to travel close to your legs.
Lower as far as you can whilst maintaining a steady back position. The weights don’t necessarily have to go all the way to the floor. Press through your feet and drive your hips forward to stand tall at the top without any leaning back.
Make it easier: practice the hip hinge without any weights. Stand a short way in front of a wall with your back to it and hinge your hips backwards to touch the wall gently.
Watch out for: doing it as a deep squat or rounding your back to go down. The ACE Romanian deadlift guide goes into the hip driven movement and the dumbbell version.
3. Two-dumbbell bent-over row
Hold the dumbbells at your sides, bend your knees slightly and hinge forward from the hips. Keep your back steady and let your arms dangle down beneath your shoulders.
Pull your elbows back towards your hips and lower the weights slowly. Keep your neck in line with your trunk rather than looking up at a mirror during the set.
Make it easier: use lighter weights and a smaller forward lean. If you can’t comfortably achieve the hinged position then stop and have a qualified trainer help you select an appropriate supported rowing variation.
Watch for: jerking the weights up, shrugging, or standing more upright with each rep. Finish the set before momentum takes over.
4. Dumbbell floor press
Lie on your back with your knees bent and your feet flat. Bring the dumbbells in to your chest in a controlled manner. If you can’t get into the position comfortably then go for the wall push-up alternative.
With your palms facing each other or slightly forward, press the weights up over your chest. Lower until your upper arms just meet the floor. Keep your elbows at an angle towards your sides rather than straight out at shoulder height.
Make it easier really: use a lighter pair or do wall push-ups. For the wall version, place your hands at chest height, step back a comfortable distance, bend your elbows to bring your chest towards the wall and push away keeping your body in a straight line.
Watch for: bouncing your arms off the floor or dropping the weights afterwards. Use the full rest period to put them down and stand safely.
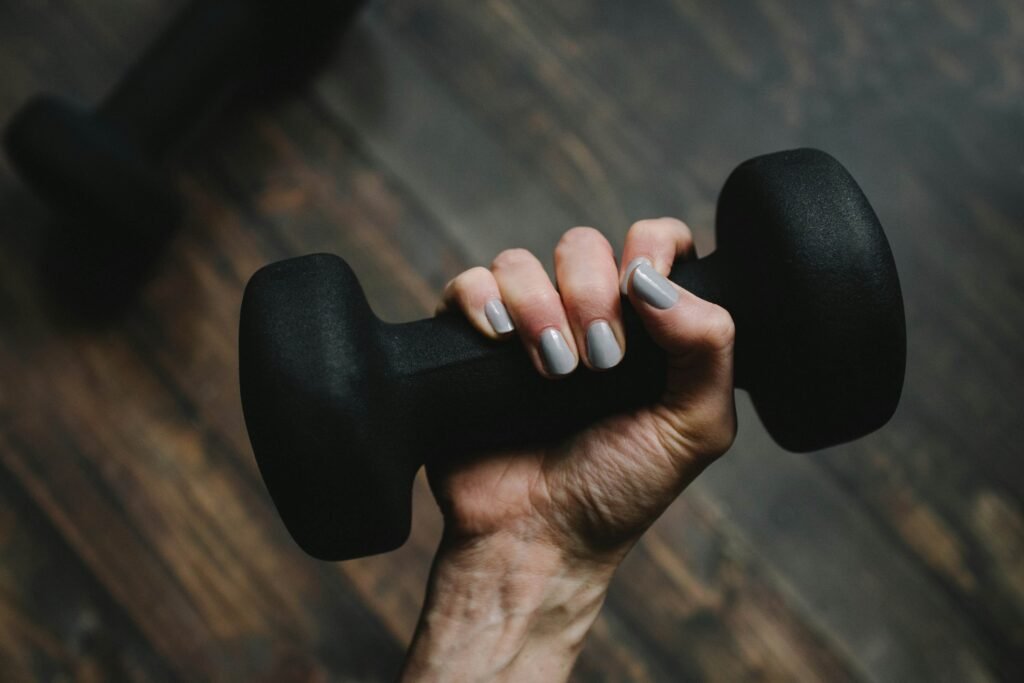
5. Standing dumbbell shoulder press
Stand with your feet comfortably apart and bring the weights to shoulder height with the palms facing in or slightly forwards. Keep your trunk steady as you press up through a comfortable range.
Lower slowly to the starting position. Stop if you need to lean backward or use a leg drive to finish the repetition. Breathe out as you press and in as you lower.
Make it easier: use lighter weights. If your only pair is too heavy then just do the wall push-up as described above instead; don’t try to force an unsuitable weight to work by doing it too fast.
Watch for an exaggerated arch in the lower back, a forward cranking of the neck or discomfort in the upper body. A trainer can of course help you to pick a different pressing movement if the position doesn’t work for you.
6. Bodyweight dead bug
Set the dumbbells well clear of the mat. Lie on your back, raise your arms toward the ceiling, and bring your knees above your hips with knees bent.
Slowly extend one arm behind you and the opposite leg away from your body. Move only as far as you can keep your trunk steady, return, then switch sides. Continue breathing throughout.
Make it easier: Keep your arms still and lower one bent leg at a time to tap the heel toward the floor. Use a shorter movement if your back position changes.
Watch out for: arching your back to get there or holding your breath to finish. Three well performed reps on each side are far more useful than a number of quick, uncontrolled ones.
Cool down without adding another workout
After the second round just walk slowly for a few minutes and let your breathing settle. Use that time for some comfortable gentle movement of your shoulders, hips and ankles. You don’t need to do an intense stretch session to complete the plan.
Record the weights, the reps and any substitutions before you go and put the gear away. Those notes are your starting point for the next session.
A four-week dumbbell plan
Use two non-consecutive days (e.g. Monday and Thursday). The CDC recommends that you do muscle strengthening activity on at least two days each week in addition to your aerobic activity. The schedule below is one way of structuring your practice; it doesn’t guarantee any particular outcome in four weeks.
| Week | Sessions | Focus | When to progress |
| 1 | Two nonconsecutive days | Learn the movements; complete one or two rounds | Add the second round only if technique stays steady and you recover comfortably |
| 2 | Two nonconsecutive days | Repeat two rounds with the same weights and timer | Build consistency before adding difficulty |
| 3 | Two nonconsecutive days | Add one controlled repetition to selected sets, up to 10 within the lifting window | Keep the same pace; stop early rather than rushing |
| 4 | Two nonconsecutive days | Repeat the strongest controlled version you can recover from | If a heavier pair is available and appropriate, trial it on one exercise and reduce repetitions |
One round plus the warm-up and cooldown is approximately 19 minutes, with no requirement for the break between rounds. That shorter version is a legitimate option for week one. More rest will of course make either version take longer.
If you’ve got just one pair then week 4 doesn’t require you to buy any more equipment. Just go through the session again and work on control. Eventually you’ll reach a point where the weights you’re using no longer present a challenge to the movement and progress will plateau. At that point it’s time to either change the equipment or the programme rather than simply going for more reps.
For a more comprehensive weekly split with different sessions, see our 3 day full body workout split.
Questions about full-body dumbbell workouts
Is 30 minutes enough?
It’s quite enough time to do a useful selection of strength work with planned rest. How much progress you make is going to be down to your starting point, your effort, your consistency, your equipment and your recovery. Just ticking the clock doesn’t mean you’ve had an effective session.
Can I do this workout every day?
Use non-consecutive training days for this plan. On the other days just pick an activity that suits your recovery rather than simply going back to the same full body lifting session. If you’re after more training days then you’ll need to deliberately alter the weekly structure.
Can one pair of dumbbells build muscle?
One pair will give you some useful resistance, especially when you’re at the beginning. The limitations of the pair become apparent when the weights are too light for one movement and too heavy for another. Our muscle growth workout guide looks at a more comprehensive approach to structuring your training as your requirements change.
What if I need longer than the rest interval?
Take longer. Pause the timer, extend the session or finish after one round. Don’t rush the transition from floor to standing to protect some arbitrary finish time.
When should I get help with the exercises?
Ask a qualified trainer to look at any movement you’re unsure about or any technique problem you’re repeating. If the exercise is causing you pain then stop rather than work through the pain (pain that persists needs to be looked at by a professional). If you have a health condition or injury that’s affecting your activity then you need individual advice before attempting a general programme.
Start the next session off with the same clean setup and a record of what you did last time. A repeatable squat, hinge, pull and press will get you further than changing all six exercises every week.
This is general exercise information, not an individualized training or rehabilitation plan.
Sources
- Mayo Clinic: Weight training—do’s and don’ts of proper technique — technique, breathing, warm-up, recovery, and responding to pain.
- CDC: Adult Activity—An Overview — weekly muscle-strengthening and aerobic activity recommendations.
- ACE: The Romanian Deadlift — hip-hinge technique and dumbbell adaptation.

Jen Sheldon is a seasoned writer with a passion for fitness, health, wellness, and addiction treatment. With years of experience crafting insightful and research-backed content, she helps readers navigate their journey toward better well-being. When she’s not writing, you’ll find her exploring new workout routines or diving into the latest health trends.